I just want 2 eat
Showing posts with label recipe. Show all posts

Sunday, December 15, 2013

Cooking class at Cook & Go Culinary Studio in Chelsea, NYC, New York

1
image of Cook & Go Culinary Studio in Chelsea, NYC, New York

I was recently invited for a cooking class with bloggers at Cook & Go Culinary Studio located in Chelsea. 
image of Cook & Go Culinary Studio in Chelsea, NYC, New York
Cook & Go started few years ago in France, more precisely in Lyon that is the capital of Gastronomy there. Their classes target people who are not professional or advanced cooks and want to learn simple recipes in a relaxed atmosphere. You come, cook and then go with the food you just made so your friends and family can try! 
image of kitchen at Cook & Go Culinary Studio in Chelsea, NYC, New York

The place is big and can host up to 80 people. Of course, there is no way that 80 people can cook at the same time or in that case it will have to be uncooked dishes like some we made. Interestingly, some companies are organizing events there: good idea for team building sessions.
image of utensils at Cook & Go Culinary Studio in Chelsea, NYC, New York

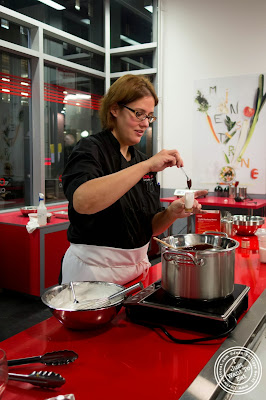
Our teacher (and Chef), Christine, made the experience very relaxed, with no pressure, providing useful tips.
image of Christine at Cook & Go Culinary Studio in Chelsea, NYC, New York


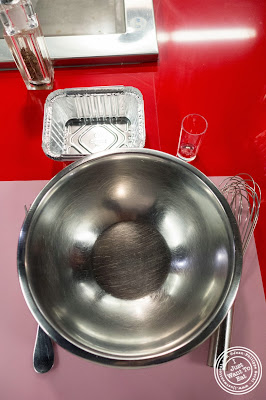
Each of us had its own space setup.
image of cooking station at Cook & Go Culinary Studio in Chelsea, NYC, New York

And I was ready to start! Au menu were:
  • Purses filled with pear, brie and raspberry.
  • Tuscan White Bean Crostini.
  • Apricot Chicken.
  • Cakes filled with dates.
  • S'mores shooters.
The recipes below were courtesy of Cook & Go. 


The first dish was Purses filled with pear, brie and raspberry

Ingredients:
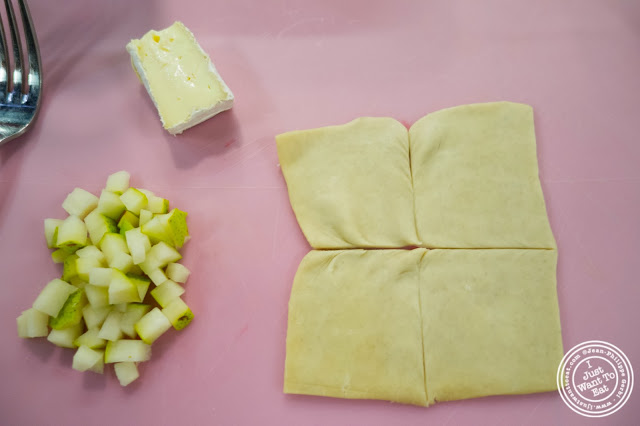
1 puff pastry sheet, thawed
8 oz brie
24 raspberries
2 pears sliced and caramelized
image of ingredients for Purses filled with pear, brie and raspberry at Cook & Go Culinary Studio in Chelsea, NYC, New York

Preheat oven to 400ºF.

Unfold on a lightly floured surface:
1 puff pastry sheet , thawed.  Using a rolling pin, roll the sheet into a 10x15-inch rectangle.
Cut into 24 (2 1/2-inch) squares.  
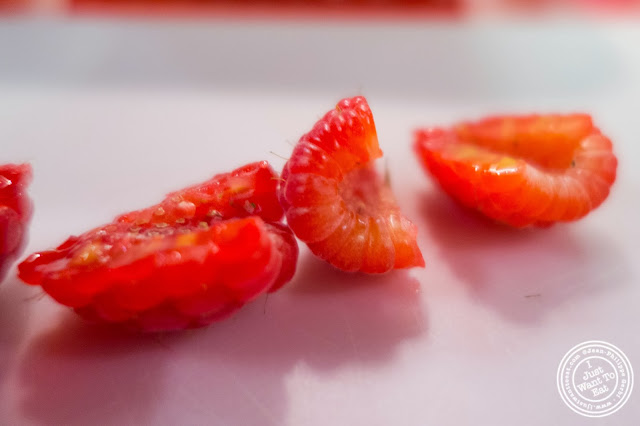
image of  raspberry at Cook & Go Culinary Studio in Chelsea, NYC, New York

Divide the brie, raspberries, and pears among the pastry. Close like a purse.
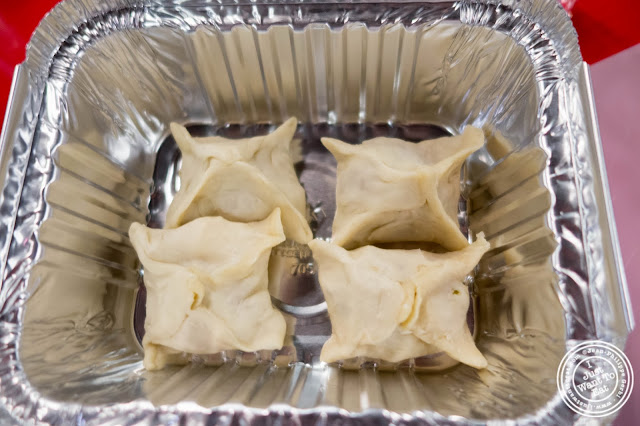
image of Purses filled with pear, brie and raspberry at Cook & Go Culinary Studio in Chelsea, NYC, New York

Bake for 15 minutes or until the pastries are golden brown. Et voilà!
image of Purses filled with pear, brie and raspberry at Cook & Go Culinary Studio in Chelsea, NYC, New York

It was delicious, but I should have put more brie in it. Problem was that with more cheese, I am not sure I would have been able to close the pastry...

The second recipe was Tuscan White Bean Crostini:

Yield: 6 servings

Ingredients:
2 cans (15 ounces each) white beans (such as Great Northern or cannellini), rinsed and drained 
1/2 large red bell pepper, finely chopped or 1/3 cup finely chopped roasted red bell pepper 
1/3 cup finely chopped onion 
1/3 cup red wine vinegar 
3 tablespoons chopped fresh parsley 
1 tablespoon olive oil 
2 cloves garlic, minced 
1/2 teaspoon dried oregano 
1/4 teaspoon black pepper 
18 slices French bread, about 1/4 inch thick 

Directions:
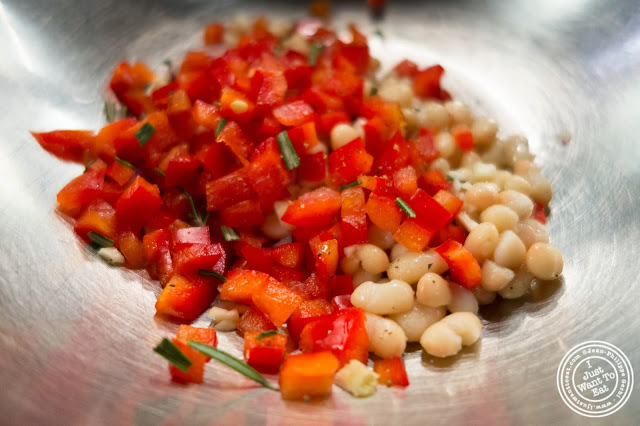
1.Combine beans, bell pepper and onion in large bowl.
image of Tuscan White Bean Crostini at Cook & Go Culinary Studio in Chelsea, NYC, New York

2.Whisk together vinegar, parsley, oil, garlic, oregano and black pepper in small bowl. Pour over bean mixture; toss to coat. Cover; refrigerate 2 hours or overnight (of course we did not do this at the class).
3.Arrange bread slices in single layer on large ungreased baking sheet or broiler pan. Broil, 6 to 8 inches from heat, 30 to 45 seconds or until bread slices are lightly toasted. Cool completely.
4.Top each toasted bread slice with about 3 tablespoons bean mixture.
image of Tuscan White Bean Crostini at Cook & Go Culinary Studio in Chelsea, NYC, New York

It was good and refreshing, a perfect amuse bouche if you have guests, but a bit tough to eat as the garnish tends to fall off the bread...

After that, we made Apricot Chicken:
Yield: 6 servings.
Ingredients:
1 1/2 pounds apricots, roughly chopped, pits removed and discarded
1/4 cup sugar
2 Tbsp cider vinegar
2 pounds skinless chicken breasts, cut into 1 to 2-inch pieces
Salt
1 Tbsp unsalted butter (can sub olive oil)
3 Tbsp olive oil
1 chopped onion
2 cups chicken stock or broth (use gluten-free stock if you are cooking gluten-free)
1 Tbsp chopped fresh rosemary
1 teaspoon cinnamon
2 teaspoons Tabasco or other hot sauce (you can add more if you like)
Black pepper


Directions:
1 Place the chopped apricots in a large bowl. Stir in the sugar and the vinegar. Let sit while you brown the chicken in the next step.
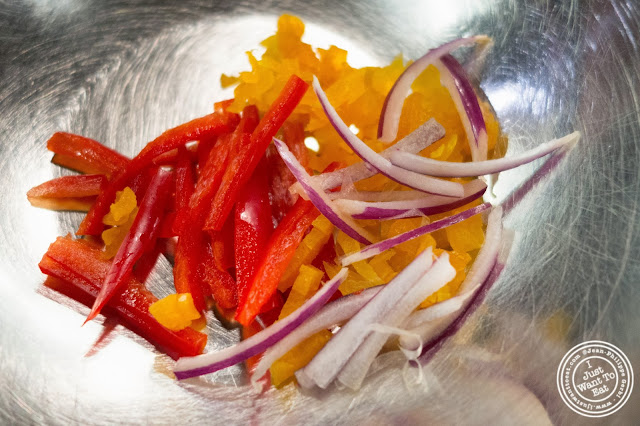
image of Ingredients for apricot chicken at Cook & Go Culinary Studio in Chelsea, NYC, New York

2 In a large sauté pan, heat 1 tablespoon of the butter and 1 tablespoon of olive oil over medium-high heat. Working in batches, place chicken pieces in the pan, without crowding the pan, and brown them on each side. As the chicken cooks, sprinkle salt over it. Once the chicken is browned, remove the pieces from the pan to a bowl and set aside.

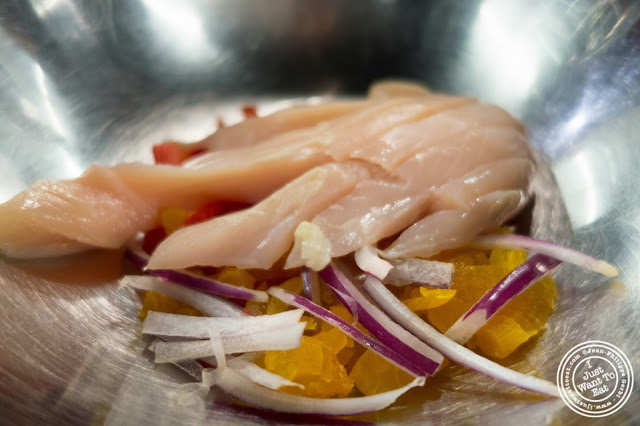
Note: this is where the recipe differs: we just put all the ingredients in a bowl as showed on the photo below and cooked it in the oven.
image of Ingredients for apricot chicken at Cook & Go Culinary Studio in Chelsea, NYC, New York


3 Add the remaining oil to the pan and sauté the onion until it begins to brown. As the onion cooks and releases moisture, use a flat edged spatula or wooden spoon to scrape off the browned bits from the chicken (called fond) from the bottom of the pan. 

4 Once the onions have browned a bit, add the chicken stock and lower the heat to medium.

5 Put about 2/3 of the apricots, along with any juice they have given up, into a blender and blend into a purée. Pour the purée into the pan with the chicken stock and onions. 

6 Add the cinnamon, rosemary and Tabasco and taste. You may need to add some salt. Bring to a simmer, then lower the heat and gently simmer for 10-20 minutes. 

7 When you are ready to serve, put the chicken and the remaining apricot pieces into the pan and simmer gently for 5 minutes. 

Serve hot with rice.
image of  apricot chicken at Cook & Go Culinary Studio in Chelsea, NYC, New York

This was my least favorite dish: although the chicken was moist (I cut large ribbons, smaller would have make it dry), it was very sweet; too sweet.

After the apricot chicken, we cooked Cakes filled with dates:

Directions:
In a bowl, measure the butter, cream and sugar. Mix with a spatula until blended. Add sunflower oil, and orange blossom. Mix again. Add flour and mix. 
image of Cakes filled with dates at Cook & Go Culinary Studio in Chelsea, NYC, New York

Refrigerate. In another bowl, measure your dates and remove the pits. Chop coarsely and add the orange blossom and cinnamon. Mixing to obtain a homogeneous mixture. Cut the dough into 4 pieces per serving. Place a piece of dough in hand. Flatten and widen slightly in the middle without a hole. Place the stuffing at the center and close the cake. 
image of Cakes filled with dates at Cook & Go Culinary Studio in Chelsea, NYC, New York

Arrange on a sulfurized paper and bake at 400 for 15 minutes.
image of Cakes filled with dates at Cook & Go Culinary Studio in Chelsea, NYC, New York

This was, with the last dish below, my favorite: the cookie was buttery and flakey. I will sure try this one at home, probably with chocolate...

The last dish we cooked was dessert (shall I say long awaited?). It was S’more shooters:

Yield: 12 servings

Ingredients:
4 large egg whites
1 cup sugar
pinch of cream of tartar
1 teaspoons pure vanilla extract

Directions
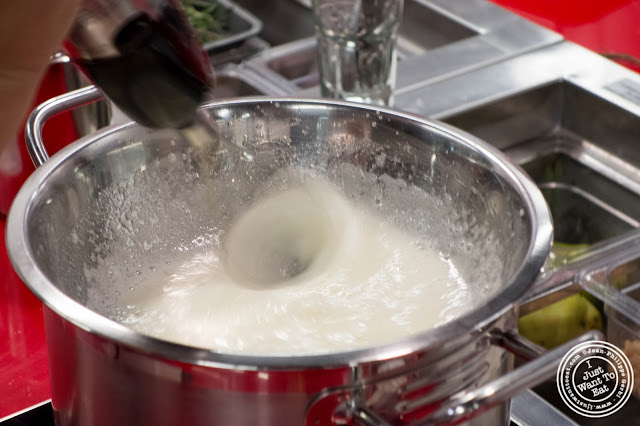
Place egg whites, sugar, and cream of tartar in the heatproof bowl of an electric mixer. Set over a saucepan with simmering water. Whisk constantly until sugar is dissolved and whites are warm to the touch, 3 to 4 minutes.
image of marshmallow fluff for S'mores shooters at Cook & Go Culinary Studio in Chelsea, NYC, New York

Transfer bowl to electric mixer fitted with the whisk attachment, and beat, starting on low speed, gradually increasing to high, until stiff, glossy peaks form, 5 to 7 minutes. Add vanilla, and mix until combined. Use immediately.
image of marshmallow fluff for S'mores shooters at Cook & Go Culinary Studio in Chelsea, NYC, New York

Chocolate Glaze
Ingredients
12oz semi-sweet chocolate – chopped finely
1 cup of heavy cream
1 tbsp unsalted butter
1 tbsp light corn syrup

Directions
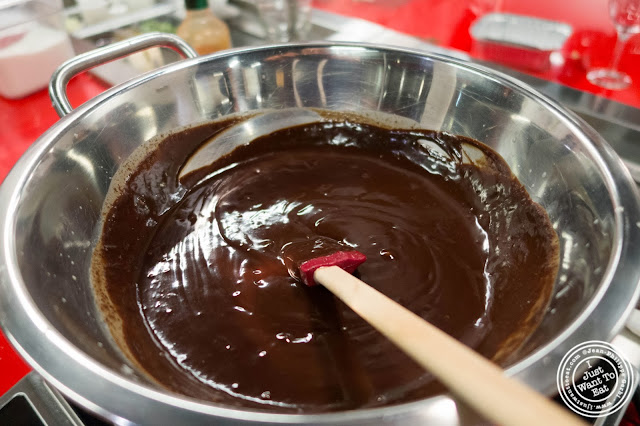
In saucepan on med-low heat, heat the cream until bubbles start to form – watch it very, very closely
Add chopped chocolate to med size bowl.  Add cream and leave it for 2 mins.  Slowly stir to melt chocolate (whisking quickly creates air bubbles)
Add butter and corn syrup.  If mixture is not completely melted together, put in the microwave in 10 sec intrevals.
image of chocolate ganache for S'mores shooters at Cook & Go Culinary Studio in Chelsea, NYC, New York

Assembly
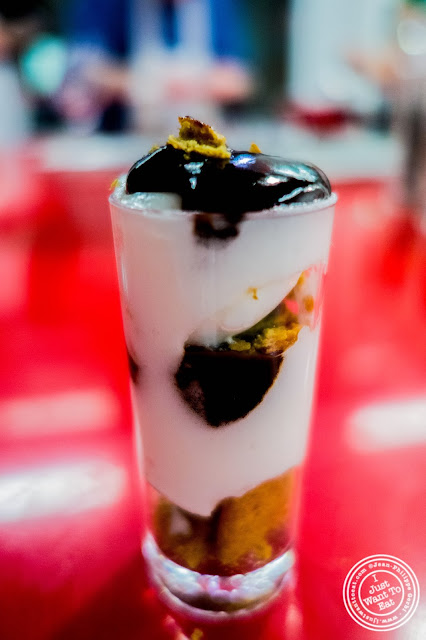
The secret to these shooters and any layered dessert (Trifle) is to be very neat and tidy with your layers.  That means making sure each layer is smoothed out evenly and touching the side of your dish but also the sides of the glass dish are kept clean.  If you slop on the side and above the layer you are working on, take a cloth and wipe it otherwise the layers will not show properly.  For creating this layered look in the shooter glasses, put your marshmallow frosting in a piping or ziploc bag.  The glaze can be put in a bag but it will be in almost a liquid until cooled – use either a spoon or a ziploc bag.
Layer the following: put 2 tsp of graham cracker crumbs in each glass, marshmallow frosting, chocolate glaze and then repeat. If you are using a piping bag for the frosting, just swirl it in the glass but make sure it touches the edges. Once filled to the top, garnish with graham crumbs and chocolate chips.
image of  S'mores shooters at Cook & Go Culinary Studio in Chelsea, NYC, New York

This was fantastic and I cannot wait to make it at home (well, since Jodi knows that I can make it and saw the result, I do not have that much choice...).

I had a good time. I love the concept and truly appreciate the fact that the recipes are easy to make, so I can wow my family and friends next time I receive them!

If you are interested by a class, you can use this 15% coupon BPIBLOG at http://cook-and-go.com/

Thank you to Cook & Go for inviting me to this great event.

Enjoy (I did)!

If you like this post or the photos, feel free to share it using the toolbar below or to write a comment! 

And Remember: I Just Want To Eat!

Please note that this cooking class was complimentary. However, the opinions expressed in my blog are 100% my own! 
Continue Reading »

Friday, September 27, 2013

Recipe: Italian Egg Benedict

3

image of Recipe: Italian Egg Benedict

I love eggs benedict and, as I had to create a dish with pasta, I came up with the idea of Italian egg Benedict, where the English muffin would be replaced by pasta, but keeping the presence of bread with breadcrumbs that added a bit of crunch!
image of Recipe: Italian Egg Benedict

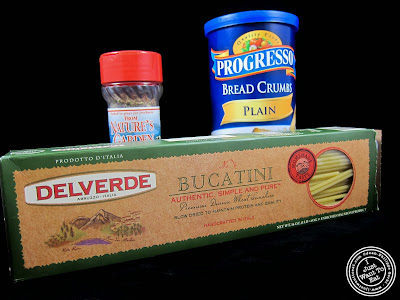
My pasta of choice were bucatini from Delverde. I like bucatini, which is thicker than spaghetti.

It is a fairly easy dish to make and it only requires couple of steps!

Step 1- cook the pasta:
image of Recipe: Italian Egg Benedict

Once the water is brought to a boil, add salt (no oil: just stir from time to time) and then the pasta and cooked to the preferred consistency; the instructions say 7 minutes, but, I prefer 10 minutes.
image of Recipe: Italian Egg Benedict

Then strain them in a colander.

Step 2- Cut three stripes of bacon in small slices. 


Step 3- in a pan, put 1/4 of a cup of olive oil and put right away the bacon, that way, it will infuse in the olive oil. Once the bacon is brown, add a tea spoon of oregano. 

Step 4- put the pasta in the pan with the olive oil and bacon. Stir and cook for five minutes at low heat. 

Step 5- prepare the egg. 

For the photo, I fried the egg in a ring to give it a round shape. But you can make a poached egg (check out how to make a perfect poached egg!). 


Step 6- serve!

In a pasta bowl, put the pasta and the egg in the center. Add breadcrumbs (I added 1 table spoon).

Et voilà! Bon Appétit!

If you like this post or the photos, feel free to share it using the toolbar below or to write a comment! 

And Remember: I Just Want To Eat!


This recipe is posted as an entry to the Delverde DISH YOUR BLOG recipe contest. I received free sample products to compete.
Continue Reading »

Monday, December 10, 2012

Recipe: Pineapple Upside Down Cake

0
Here is a very easy recipe for a delicious Pineapple Upside Down Cake!
Image of Recipe of the pineapple upside down cake

Ingredients:
- 7oz (200g) of butter
- 7oz (200g) of powdered sugar
- 7oz (200g) of white flour
- 5 eggs
- 1teaspoon of vanilla extract
- 1teaspoon of almond extract
- 1packet of yeast
- 1can of sliced pineapple

Steps:
1 - Prepare the cake batter:

  • Melt the butter and integrate it with the sugar
  • Incorporate one by one the eggs
  • Add the sifted flour and the yeast
  • Add the almond and vanilla extracts
  • Add some of the pineapple juice from the can

2 - Make a caramel:

  • In a saucepan, melt some brown sugar and water to make caramel
  • Bring to a boil
3 - Assemble the cake:
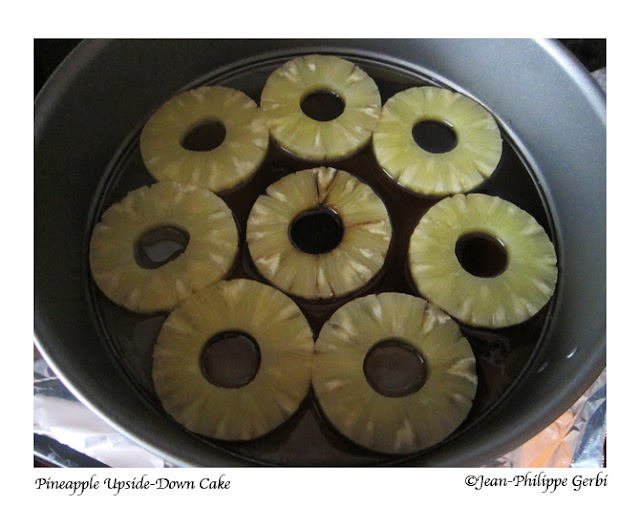
  • In a cake pan (I use a springform pan), pour the caramel and then lay the slices of pineapple.
Image of Recipe of the pineapple upside down cake
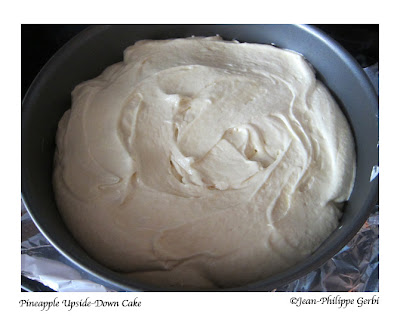
  • Cover with the cake batter, making sure that no batter goes under the pineapple slices.
Image of Recipe of the pineapple upside down cake
4 - Cook the cake:
  • Pre heat the oven to 350 degrees Fahrenheit. 
  • Cook for 35 to 50 minutes (check if the cake is cooked with a knife).

When the cake is cooked, put it on a plate, pineapple up, and let it cool. Et voila!

Bon appétit!

Continue Reading »

Wednesday, October 3, 2012

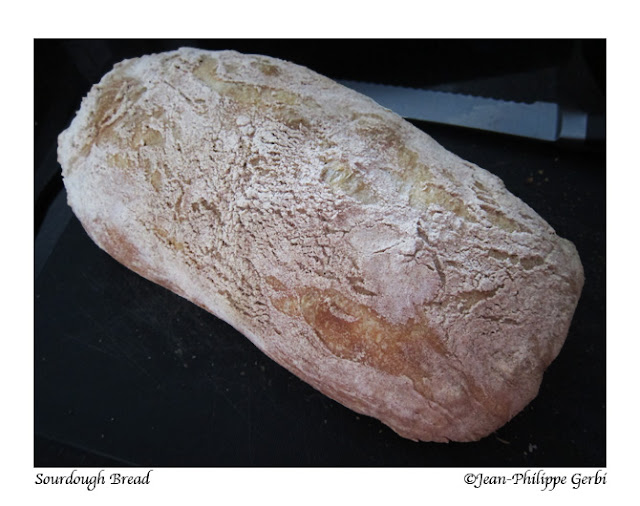
Sourdough bread recipe

1
This is an easy recipe that my friend Benny's wife, Rufina, gave me and that I tried over the week end. It is easy but a bit long because of the time needed for the fermentation process that gives this bread such a distinct taste.

Ingredients:
3 1/2 cups of all purpose flour
1 1/2 teaspoon salt
1/4 teaspoon yeast
1 1/2 cup of water

Put all the ingredients in a bowl and knead until obtaining a firm dough.
Cover with a kitchen towel and let stand for 12 to 18 hours.
On a slightly floured surface, fold the dough 2 to 3 times. Cover and let stand for 15 minutes.
Generously flour a kitchen towel and put the dough on it. Shape the dough the way you would like your bread to be shaped. Put some more flour on top of the dough and cover with another kitchen towel. Let stand for 2 more hours.
Image of Sourdough bread recipe
Pre-heat your oven to 450 degrees Fahrenheit.
Put the dough on an aluminum foil and cover with another aluminum foil sheet. Put in the oven and cook for 30 minutes.
Then remove the aluminum foil that was on top and continue to cook for another 30 minutes or until golden brown.

Et voila! It will give you a bread similar to what you would buy in a bakery with a fantastic crunchy crust!
Image of Sourdough bread recipe
Enjoy (I did)!


If you like this post or the photos, feel free to share it using the toolbar below or to write a comment!

And Remember: I Just Want To Eat!

Continue Reading »

Wednesday, September 19, 2012

Recipe: Anise Infused Bread

0
Image of Anise Infused Bread recipe
Here is a very recipe to make a wonderful bread that has a subtle anise taste.

For 8 small breads:


  • 17.5 ounce (500g) of white flour
  • 1 tablespoon of salt
  • 3/4 tablespoon of sugar
  • 2 tablespoons of anise seeds
  • 1/2 ounce of dry yeast
  • 1/2 cup of vegetable oil
  • 0.8 cup of lukewarm water

  • The first thing to do is to grind the anise seeds.
    To grind seeds, I use a coffee grinder.

    Mix all the ingredients and knead until firm. I have a bread machine and use the setting to only knead and rise as I will cook the bread in the oven.
    Let the dough rise for 1h30.

    Preheat the oven to 375 degrees Fahrenheit. At the same time, make 8 even portions of the dough and lay them on a cooking sheet or aluminum foil, making sure you either grease it or put some flour to prevent the bread to stick.
    Image of Anise Infused Bread recipe
    In a small ball, make an egg wash by cracking an egg at room temperature and whisking it until the yolk is incorporated in the white. 
    With a knife, make a X on top of each bread so they open while cooking.
    Then brush each bread with the egg wash.
    Rest for 25 more minutes; the bread will rise again.
    Put the bread in the oven for 30 to 40 minutes or until golden.

    Et voila!
    Image of Anise Infused Bread recipe
     Bon appetit!
    Continue Reading »

    Wednesday, July 4, 2012

    Recipe: Brioche with chocolate chips

    1
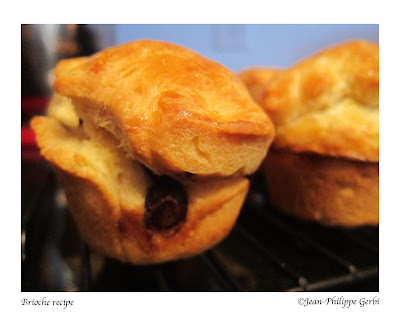
    Image of Chocolate chip brioche recipe
    Brioche is a viennoiserie that is similar to Challah bread, where water is replaced by milk, has more eggs, butter and sugar.

    The recipe below is very easy to make! 
    Ingredients for 12 brioches (approx. 2 pounds):
    - 1/2 cup of milk
    - 4 large eggs
    - 8 tablespoons of unsalted butter
    - 2 tablespoons of granulated sugar
    - 1 teaspoon of salt
    - 3 3/4 cups of white flour
    - 2 packets of yeast (I use active dry instant yeast)

    Place in the following order the milk, eggs, butter at room temperature and cut in small pieces, sugar, salt, flour and yeast in a pan. Knead until obtaining a soft dough, and let rise for 45 minutes.

    Melt some butter and brush generously the inside and outside of a muffin pan (you can use a bread pan also for cooking the brioche). The butter will prevent the brioche to stick to the pan once cooked.
    Put some dough in the bottom of the muffin hole and add some chocolate chip in the middle. This time, I put chocolate chips inside the brioche. You can other wise not put anything or put nutella or jam. 
    Cover with some dough and try to seal the brioche (do not worry: it will crack anyway during the cooking process, revealing some chips). Brush the top with an egg wash. Let rise for another 15 minutes.

    Preheat the oven at 350 degrees Fahrenheit. Cook for 20 to 25 minutes or until golden. Then remove from the oven and let it cool. Et voila!
    Image of Chocolate chip brioche recipe
    Bon appétit!


    Continue Reading »

    Sunday, July 1, 2012

    Laddu recipe

    0
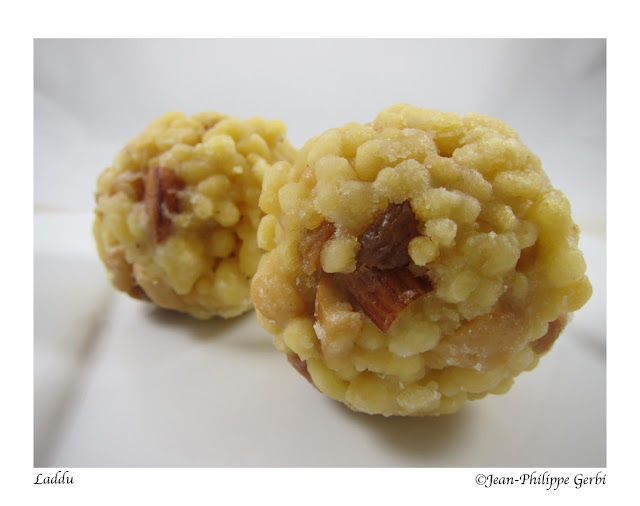
    One of my co-workers brought me some laddu for me to try as he knows that I love Indian food (I should say Food!) and sweets. Laddu or Laddoo is a popular sweet in India and South Asia eaten during celebrations or festivals. It is made of little balls (in sanskrit, Laddu means small ball) that are put together, fried and dipped in sugar syrup. The recipe can vary: for the flour, some use Bengal gram, dhal(chickpea), flour ((besan), wheat flour, semolina (suji or rava ), etc...
    Image of Laddu Indian recipe
    The one he gave me had almonds and raisins in it! It was deliciously sweet with a bit of crunch! Of course, it was smaller than the biggest Laddu in the Guiness World record: 5,570 kg obtained end of 2011 in India (the previous record was held by a temple in England - 551 kg).

    Here is the recipe as he gave it to me:

    Cooking time: 11/2 hours
    Servings: 10

    Ingredients:
    • Bengal gram flour ( besan or kadalai mavu):  360 grams or 4 full cups
    • Refined sugar: 600 grams or 31/2 cups
    • Water: 2 cups
    • Rice flour(raw rice): 2 1/4 teaspoon
    • Soda bi-carb( cooking soda): 1/2 teaspoon
    • Cardamom: 7
    • Cashew: 50 grams
    • Almonds
    • Raisins: 40 grams
    • Ghee(clarified butter): 100 grams
    • Oil(preferably refined oil): 11/2 litre
    • You also need a perforated  ”boondhi” ladle, for frying the boondhi.


    Method:
    Mix the Bengal gram flour with rice flour and soda bicarb and add some water to make batter. This batter should be similar to ‘dosa’ batter consistency. Set aside.

    Take a thick-bottomed vessel and add both sugar and water (2cups). Heat on medium heat to make sugar syrup. You have to keep stirring often till you reach a certain consistency, which can be tested by taking some syrup between your thumb and index finger and spreading the fingers out. If the syrup is sticky and extends like a thread between the two fingers, it is ready. Set this aside. 

    Powder the cardamom.

    Heat oil in a frying pan on high. When the oil is very hot, take a big spoon of flour batter. Place the ”bhoondhi” ladle over the hot oil, pour one spoonful of batter into the bhoondhi ladle and press down.
    Small balls of the dhal batter will drop into the oil. Once they are cooked, remove with another spoon, draining the excess oil. Let the fried batter balls (Boondhi) soak in the sugar syrup. Do the same with the rest of the batter. 

    Using a big heavy spoon, pound the cooked mixture to a pulp. Fry the raisins and cashew in ghee and add to the pulp with the remaining ghee. Now you can add the powdered cardamom and the whole cloves, and make round laddus, pressing the pulp into spheres using your hands.

    Tips: Making the sugar syrup to the right thread-like consistency is the tricky part in the preparation of laddus. Adding colours and other ingredients like edible camphor, saffron or ”diamond kalkandu”(sugar crystals) is optional.


    I did not try the recipe, but will one day!

    Enjoy (I did)!

    Continue Reading »

    Monday, May 28, 2012

    Recipe: Almond cigars

    0

    I love Almond Cigars. When I was a kid, my mom and my grand mother use to make them: it was driving me crazy! Well, it still does...

    It is a treat that comes from North Africa, but in fact, as cuisine traveled, you can easily compare it to the baklava found in Greece or Middle East. It is a delicious dessert, served with a hot tea (best is with mint tea in fact).

    The recipe below is very easy to make. In France, we used to make it with Feuilles de brick (brick sheets or dough) that are closed to phyllo sheets, but a bit different. You can find Brick sheets in the US, but it is way overpriced. So I decided to try with Phyllo dough. I admit that it was a bit challenging as the phyllo sheets were very thin!
    So, here is the recipe for 14 cigars:


  • Phyllo dough
  • 8.8 Oz (250 g) of almond powder.
  • 5.3 Oz (150 g) of powdered sugar.
  • 2 whole eggs and 1 egg white.

  • Put the almond powder, powdered sugar and eggs in a bowl.
    Mix well until obtaining a uniform paste.
    Now, let me explain how to shape the cigars. Take a 6 x 12 inches phyllo sheet. Fold it into two.
    On one of the extremities (smaller length), place two to three tablespoons of almond paste.
    Fold the phyllo on each side of the almond paste.
    Then roll tight! Put a bit of water at the end to stick the edge to the cigar and maintain the flap down on a plate.
    In a pan, put some vegetable oil on medium to high heat. Do not put it too hot as you want the almond paste to cook a little. Turn the cigars so they are cooked on all sides and remove them once golden brown.
    Put them in a tray and add honey on top of it. Eat them at room temperature.

    Et Voila! Bon appétit!

    Enjoy (I did)!
    Continue Reading »